Looking for a ReStory XI-box guide usually means one of three things: you cannot tell which Front Panel belongs in the console, the assembly sequence keeps failing, or the story stops moving after the challenge. The safest answer is to slow the job down. Confirm the device and licence, record the visual clue, choose the matching panel, clean and replace only what the inspection supports, then test the hand-in before chasing a bug. This page uses the public XI-box entry on the independent ReStory wiki for the device facts and the official Steam listing for the repair loop; it does not present a community note as an official solution.
The XI-box is a console with a related XI-box Controller. The public community entry notes a ¥110,000 licence and two different parts named Front Panel. Match the panel by its visible shape and connectors, keep an inspection log, and treat a stalled challenge as a state or patch issue until a clean retry proves otherwise.
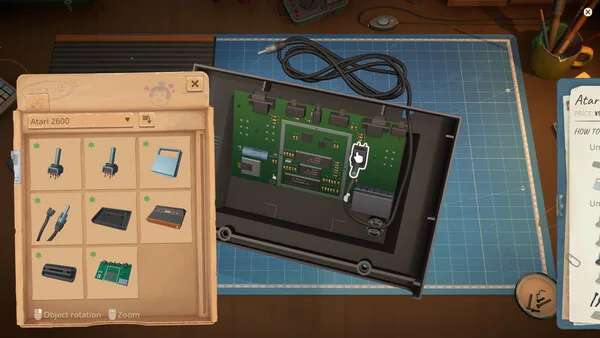
02
What the XI-box page can safely confirm
The independent ReStory wiki identifies XI-box as a game console and links it to the XI-box Controller. It records a ¥110,000 licence requirement and warns that two different parts share the name Front Panel. That naming collision is the useful practical clue: the label alone cannot tell you which part to buy.
The same community entry says the fictional console is inspired by the real Xbox, but that reference is background context, not a repair instruction. Steam confirms the broader loop of opening devices, cleaning them, replacing faulty parts and assembling them again. Steam does not publish an XI-box parts table or a complete hidden solution, so this guide keeps those boundaries visible.
- Community-sourced: XI-box name, console category, licence note and related controller.
- Community-sourced: two visually different parts use the Front Panel label.
- Official Steam fact: the game is built around inspection, cleaning, replacement and reassembly.
- Not claimed here: a universal hidden part order or a guaranteed ending trigger.
03
A safe XI-box repair order
Use this order when you want a repeatable run. It is a workflow, not a leaked answer key. The point is to keep licence spending, visual matching and progression checks separate so you can tell which step changed the result.
Read the hand-in twice
Capture the customer symptom, the challenge name and any story clue before opening the console. A short note gives you a baseline if the story does not advance.
Confirm the licence
Check that the XI-box licence is available before spending on parts. The community entry lists ¥110,000; treat that amount as a dated community reference, not a promise that every build uses the same value.
Inspect the outside first
Look at the shell, ports, controls and panel outlines. Do not turn a Front Panel label into a purchase decision until the visual clue is recorded.
Match the duplicate panel
Compare shape, colour, connector placement and the visible mounting points. If both candidates still look plausible, stop and keep the job in a needs-check state rather than guessing.
Clean before replacing
Separate surface grime or contact oxidation from a failed module. A clean test tells you whether the symptom changes before you commit to a replacement.
Reassemble and test
Check the panel, fasteners and visible connections in a deliberate order. Test the console before returning to the customer conversation or challenge screen.
Log the state change
Record the chosen panel, the test result and whether the story advanced. This is the evidence you need before calling the XI-box bugged.
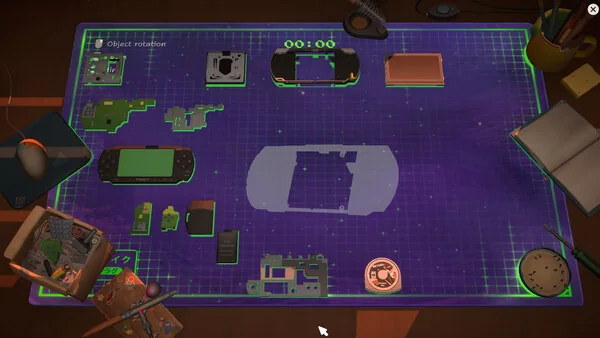
04
Front Panel choice: the common trap
The most useful XI-box detail is also the easiest to misread: two parts have the same Front Panel name. A text-only checklist can therefore send you to the wrong item even when the keyword and the shop result look correct. Treat the name as a family label and the shape as the discriminator.
When the panel choice is uncertain, keep three observations together: the front outline, the connector or mounting pattern, and the symptom that led you to the panel. If the game shows a confirmation prompt, use it as a test boundary. Do not use a real Xbox photograph as proof of the in-game part; the community page only establishes the inspiration and naming note.
Write the visible clue
Use plain words such as narrow opening, offset connector or different face shape. Avoid relying on a memory of the real-world Xbox.
Compare both candidates
Keep the two same-name entries side by side and check the mounting points before ordering.
Test one change
If the panel swap changes the symptom, record the result before changing a second module.
Keep a screenshot or note
A dated note makes a later bug report more useful and prevents a replay from repeating the same guess.
05
When the XI-box challenge looks bugged
Searches for a bugged XI-box and a story that is not progressing after Xibox describe a troubleshooting intent, not proof of one universal defect. First check whether the repair was actually tested and handed back. Then compare the chosen panel, licence state and customer dialogue with your note. A reload can reproduce a state, but it cannot tell you which step was wrong unless the log is specific.
If a clean retry still stops the story, capture the build date, platform, device name, selected panel, last successful interaction and whether the challenge was started from a fresh save. Steam community support or the developer's current patch notes are better places for a confirmed regression than a copied solution list. Keep this page honest: a community report is a lead until it is reproducible.
- Re-run the final test and customer hand-off before buying another part.
- Compare the panel shape and connector note, not only the part label.
- Check the save state before assuming the story flag failed.
- Record platform, build date and exact last action for a bug report.
- Do not call a workaround official unless a first-party note confirms it.
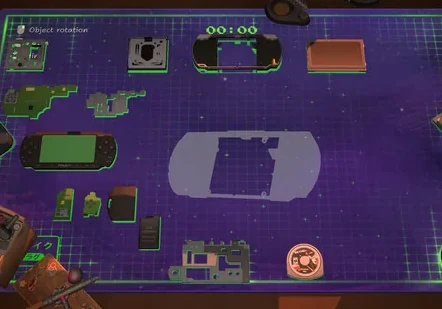
06
XI-box Controller and the pages around it
The XI-box Controller is a related but separate entity in the community wiki. Do not merge its repair notes into the console entry: a controller symptom can look like a console input failure, while the two jobs have different licence and part contexts. Use the Devices page for the family index and Parts for role-based checks before you jump to a named solution.
For a first run, the First Job walkthrough explains the general inspection habit; the Gameplay Guide covers the shop loop; the Competition Guide is the right place for timed challenge preparation. The Save File Location page is useful before you experiment with a story branch. These links support the XI-box page without claiming that another page contains its hidden solution.
07
How to keep a repeatable XI-box log
A short log is more valuable than a confident paragraph copied from memory. Write the device name, licence state, visible panel clue, part choice, test result and customer response in that order. If the story advances, mark the exact interaction that followed the repair. If it does not, you now have a reproducible boundary instead of a vague claim that the console is broken.
Use the same format on a second save. When two runs disagree, compare the state before changing the hardware. This method is deliberately cautious because the public sources confirm the device and repair loop but do not expose every current-build puzzle value.
Start with a dated note
Add platform and build date before the first click.
Record the panel evidence
Describe the shape and connectors, then name the selected part.
Mark the test boundary
Write what changed after cleaning, replacement and reassembly.
Save the outcome
Note whether the customer dialogue and story flag moved forward.
08
Front Panel decision table
Use the table to separate an observable clue from an assumption. The status column tells you whether the statement is a source fact, a workflow note or a point that still needs an in-game check.
| Signal to record | Safe next action | Evidence status |
|---|---|---|
| Two entries share the Front Panel name | Compare outline, connectors and mounting points before buying | Community fact + workflow note |
| The panel looks right but the symptom remains | Clean and re-test; do not replace a second module yet | Workflow note |
| The story does not advance after hand-in | Check test, dialogue and save state, then capture a reproducible report | Needs current-build verification |
| XI-box Controller appears in the job | Keep its evidence separate from the console entry | Community relationship |
09
XI-box guide summary
The strongest XI-box answer is a controlled process: confirm the licence, inspect the visible hardware, distinguish the two Front Panel candidates, test one change at a time and log the customer state. The public sources support the device identity and repair loop, but they do not justify an invented universal part order. Use the related pages for general workflow and return here when the named console or its challenge is the specific problem.
10
XI-box FAQ
What is the ReStory XI-box?
It is a game console in ReStory: Chill Electronics Repairs. The independent ReStory wiki records a related XI-box Controller and a ¥110,000 licence note; those entity details are community-sourced, not an official Steam parts list.
How do I assemble the XI-box in ReStory?
Read the hand-in, confirm the licence, inspect the shell and connectors, compare the two Front Panel candidates, clean, replace only the supported fault, reassemble and test. Exact hidden interactions still need a current-build check.
Which XI-box Front Panel should I choose?
The two parts share a name, so use the visible shape, connector placement and mounting points rather than the label alone. Keep a note of the clue; do not infer the answer from a real Xbox photograph.
Why is my ReStory story not progressing after Xibox?
Confirm that the repair was tested and handed back, then compare the panel choice, dialogue response and save state. If a fresh retry still fails, record platform, build date and the last successful action for a reproducible bug report.
Is the ¥110,000 XI-box licence official?
The amount is recorded by the independent community wiki checked for this page. Steam's public listing confirms the repair system but does not publish that XI-box licence value, so treat it as a dated community reference.
Is this an official XI-box guide?
No. It is an independent fan reference. Steam is used for the broad repair-loop facts, while named XI-box details are labelled community-sourced and open to current-build verification.